LOCAS Portal User Guide
Your step-by-step guide to the Local Content Assessment System
User Management
Company Administrator Only
User Management is where Company Administrators control who has access to LOCAS and what role they hold. Access it from Quick Links → User Management.
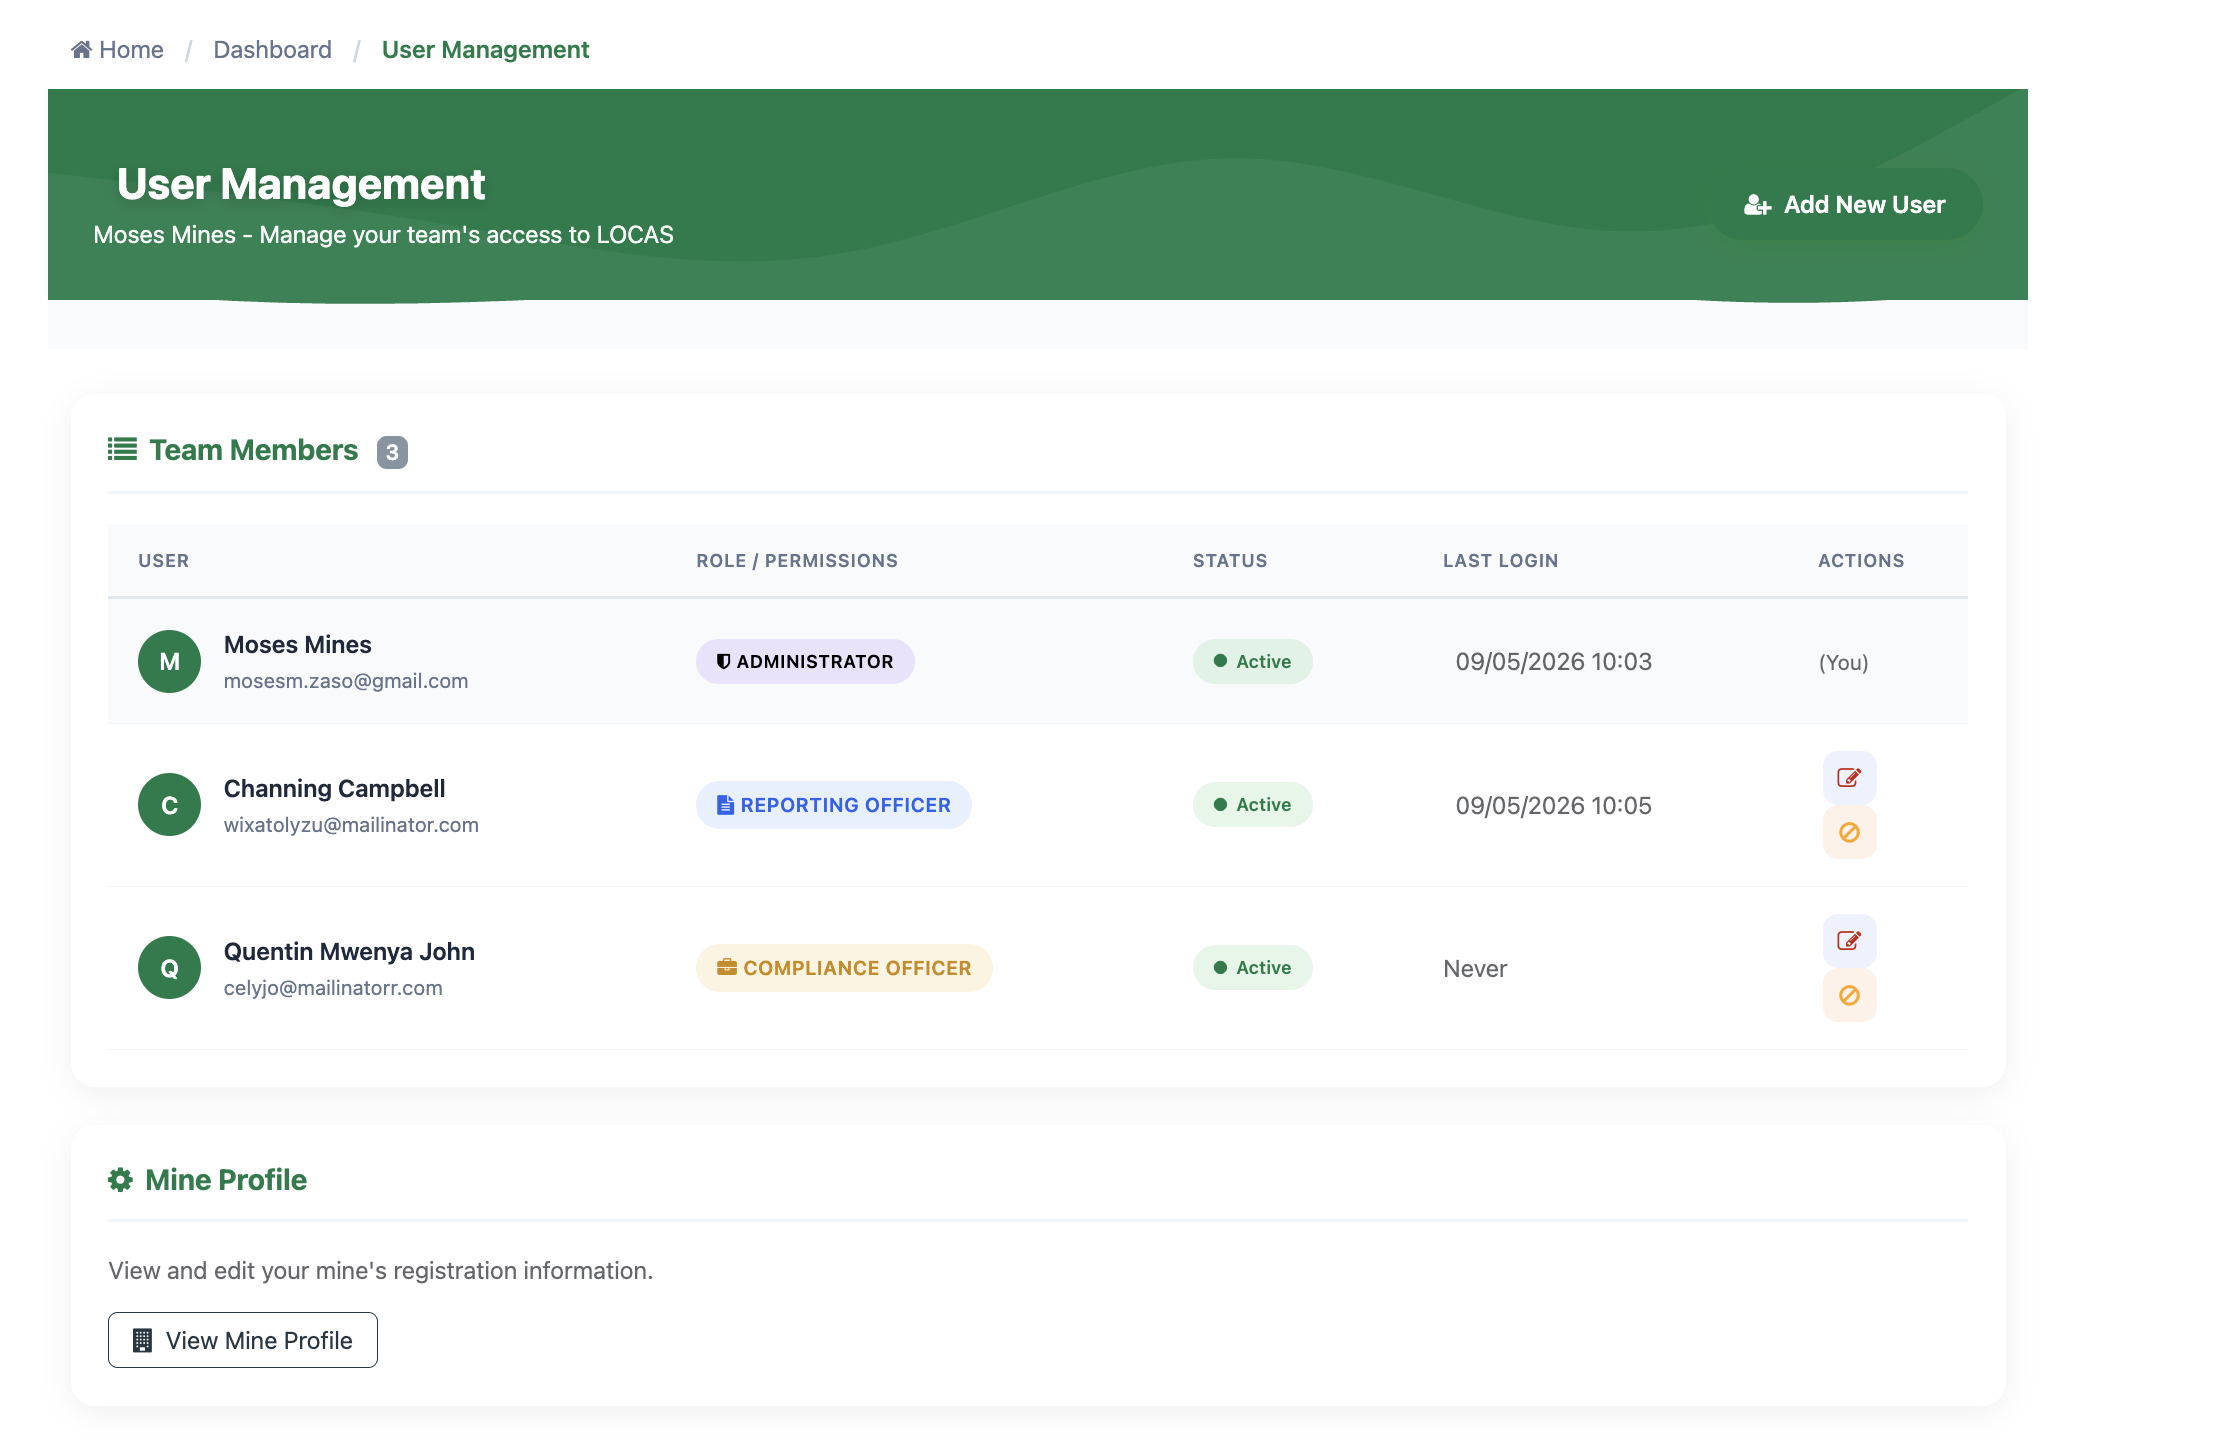
User Management page — Team Members list
Portal Roles
Every user is assigned one of three roles. The role determines what they can see and do across the portal:
| Role | What They Can Do |
|---|---|
| Reporting Officer | Can submit reports and view data. Creates procurement, employment, and SDP submissions — saved as drafts for review. |
| Compliance / Local Content Officer | Can manage compliance and review submissions. Everything a Reporting Officer can do, plus the ability to review and approve documents before they go to the Ministry. |
| Administrator | Full access — manages users, views compliance reports and penalties, and can perform all actions in the portal. |
Why You Need at Least Two Users
LOCAS uses a maker-checker workflow — one person creates a document and a different person approves it. With only one user, documents cannot be approved and submitted to the Ministry. Every company should have at least one Reporting Officer and one Compliance / Local Content Officer.
Adding a New User
Click the Add New User button in the top-right corner of the User Management page. This opens the Add New User form.
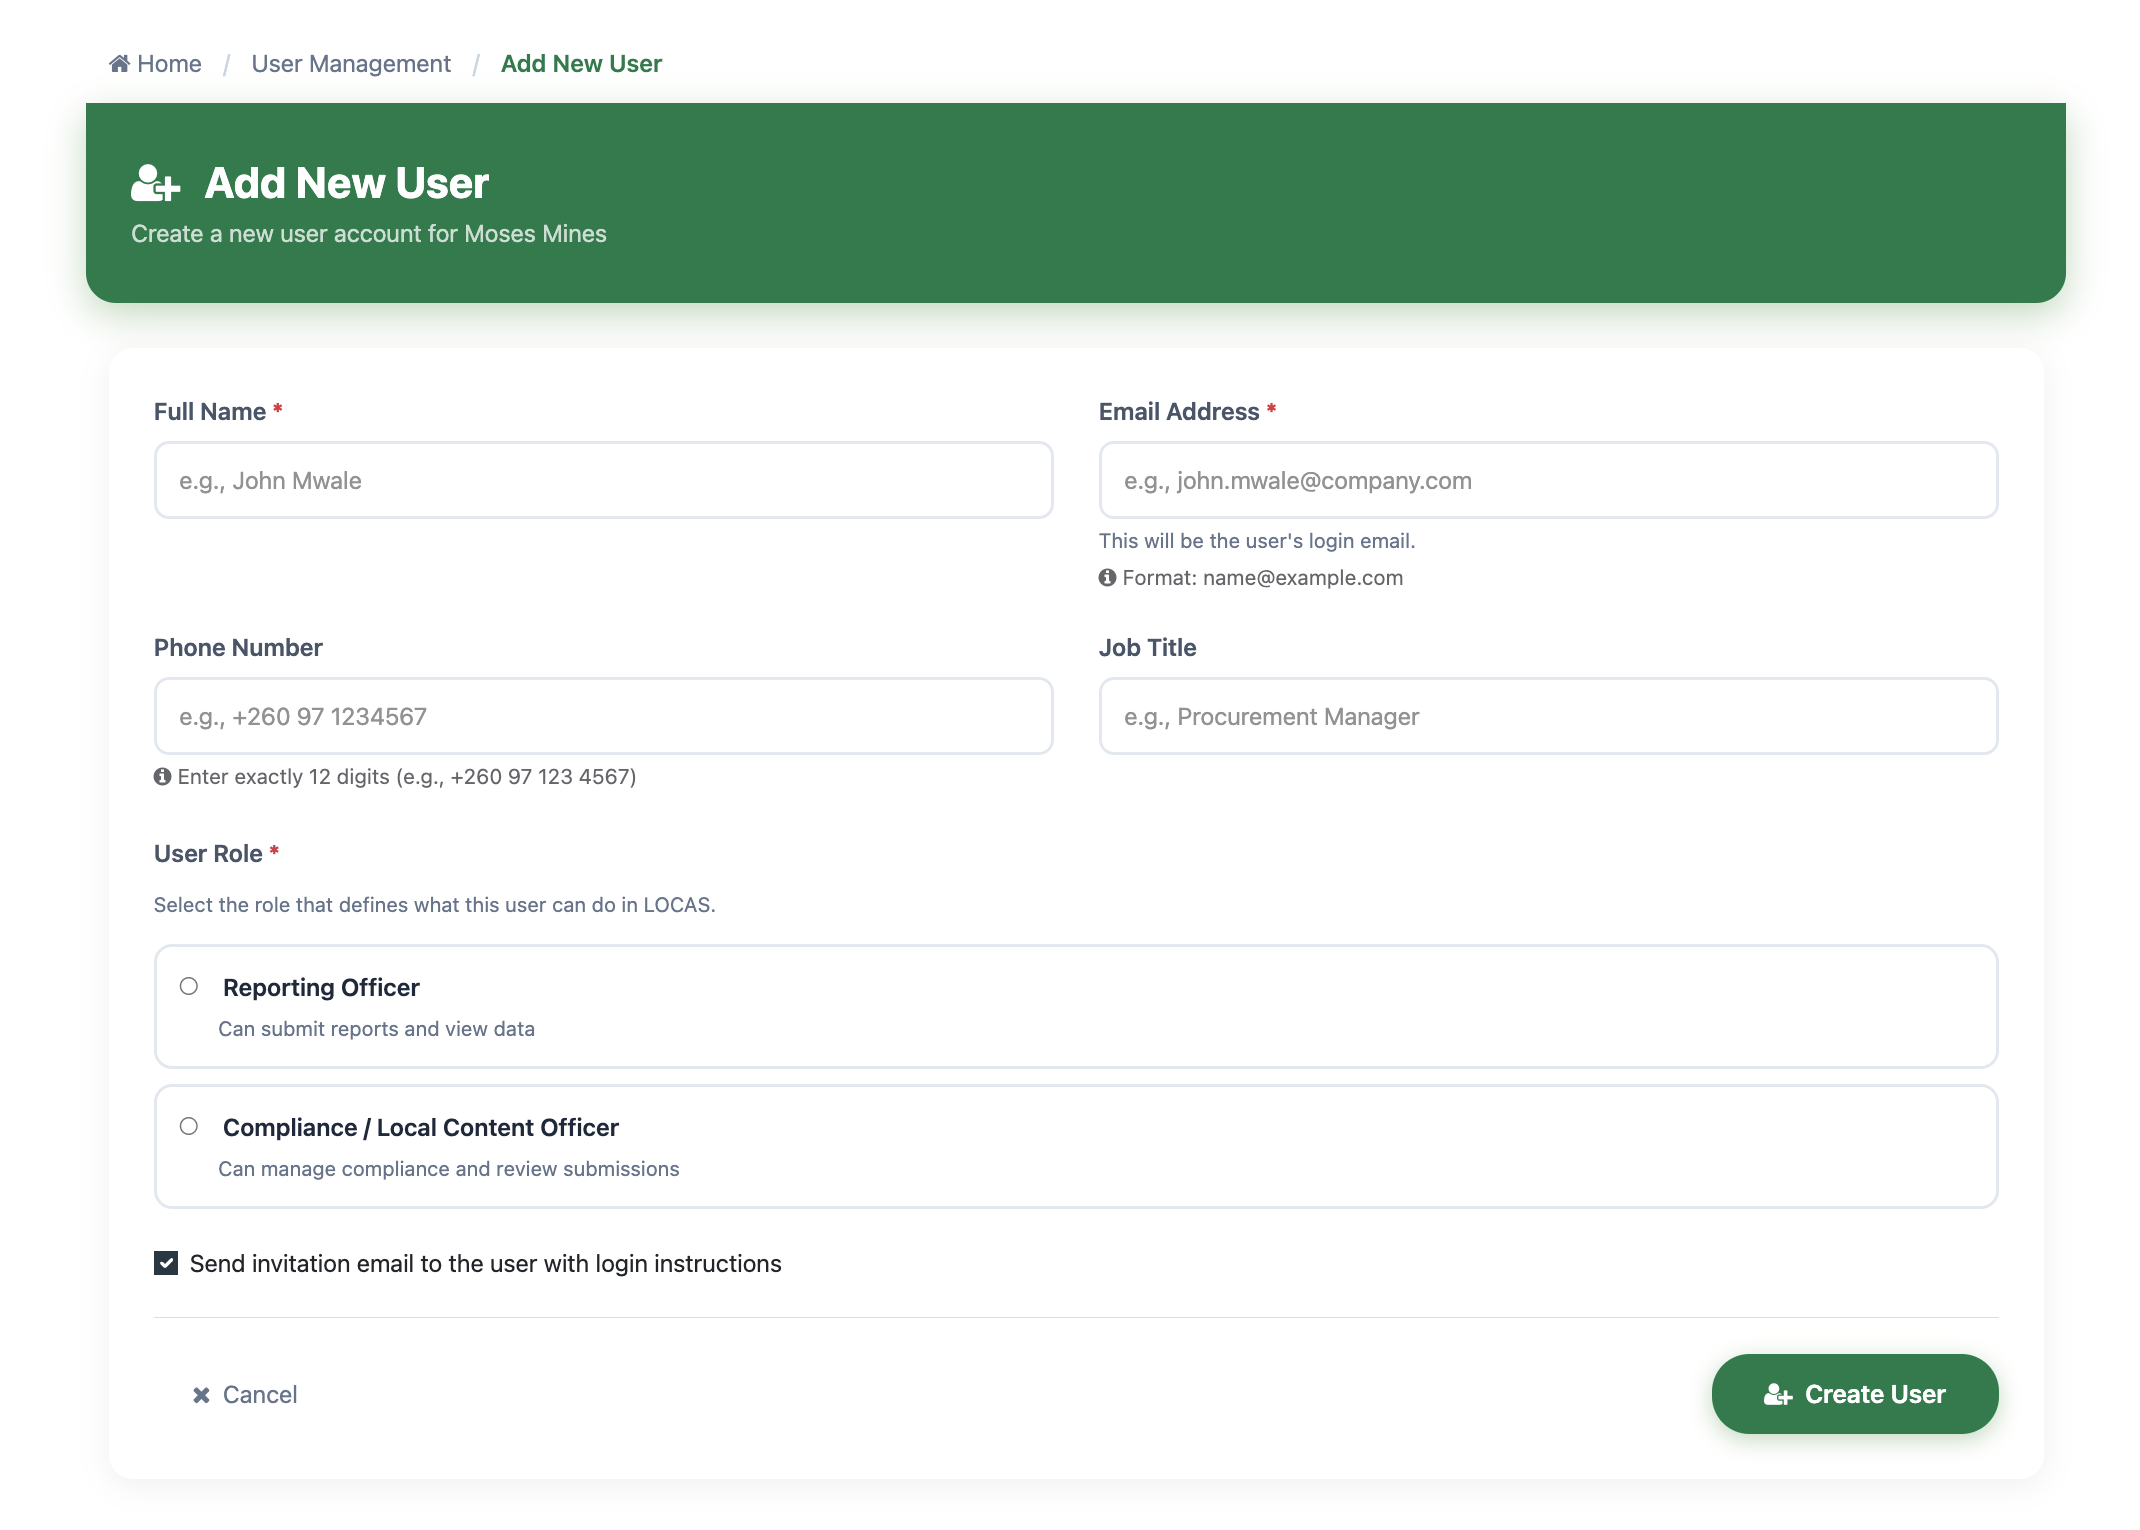
Add New User form
Enter Their Details
Fill in the user's Full Name (required) and Email Address (required) — this will be their login email. Phone Number and Job Title are optional but recommended.
Select a Role
Choose either Reporting Officer or Compliance / Local Content Officer. The Administrator role cannot be assigned here — there is only one Administrator per company.
Send the Invitation
The Send invitation email to the user with login instructions checkbox is ticked by default — leave it ticked. Click Create User. The system creates the account and sends a welcome email. The new user sets their own password from the link in that email.
Tip
The email address must be unique in LOCAS. If someone already has an account under that email, the system will flag it before you submit the form.
Managing Existing Users
The Team Members table shows every user with their role badge, status, and last login date. For each user (except your own account), two action icons appear in the Actions column:
| Icon | Action | What It Does |
|---|---|---|
| Edit | Update the user’s name, phone number, job title, or role. | |
| Deactivate / Reactivate | Disable the user’s portal access. Their account is preserved and can be reactivated at any time. The icon toggles to Reactivate when the user is already inactive. |
User Statuses
| Status | Meaning |
|---|---|
| Pending | Invitation sent but the user has not yet logged in for the first time. |
| Active | User can log in and use the portal normally. |
| Inactive | Access has been disabled by the Administrator. Can be reactivated at any time. |
Your Own Account
The (You) label appears next to your own name in the list. You cannot edit or deactivate your own account from this page — the action icons are hidden for your row.